Showing posts with label Hearts. Show all posts

Saturday, 17 April 2021

Challenge #7 - Inspiration

 Hi there, Squashettes, it's Jo on the blog today with some inspiration for our current challenge.


I think this one is proving a little tricky, so here's a little nudge to get your mojo moving and grooving.


I created a simple Distress Ink blended background and spritzed it with a little water before running it through my Cuttle Bug using Crochet Doily from Kaisercraft. I really like this EF and you'll find it on sale in the UK at this link

The second of my three folders is this beaut. Unfortunately, it's an oldie and it was purchased on eBay, so I can't share a link. However, leaf patterns are fairly easy to find so I'm sure you can track down something similar if you like the look it gives.


For my final EF of the trio I decided I wanted a pattern to pull things together. Again, this is a VERY old folder, but I like how using just a corner of the pattern gave me a leaf and some flowers for my embellishment.


Gail's Technique Time post here shared some ideas about using scraps and leftovers for creating sweet embellishments for your cards. You don't have to use all of your embossing folder all of the time - just a portion of the pattern and a little die cutting can create lovely results.

This challenge is open until the last day of April, so there's plenty of time to get creating and I hope seeing my card may have given you a few more ideas to help you play along!

Wednesday, 24 February 2021

Challenge #5 - More Inspiration


Hi there, Squashettes, Gail here today with some more inspiration for the current challenge. Usually I'd be saying you have another week to join the fun, but short February gives you only four more days, so grab those embossing folders and share the love.  
 
I've made a Mothers Day card using Couture Creations Butterfly Hugs embossing folder.


I started by embossing a piece of Craft Creations Daisy print designer card with the Butterfly Hugs embossing folder.


I used Carnation archival ink to highlight the embossed areas.  I just gently rubbed the ink pad over the embossed panel.  A little ink got on the flat areas and created a pretty pink.  I added a red metallic brad and a red base card before adding the stamped sentiment panel.

Thanks for dropping by.  I hope you join us with your love themed folders and red/pink.

Wednesday, 17 February 2021

Challenge #5 - Inspiration.


Hi there, Squashettes, did you all have a happy Valentine's Day? 

We have another couple of weeks to run with this challenge until it ends on February 28th. Just because February 14th has come and gone doesn't mean we have to put away the red and pink card and the heart patterned embossing folders!


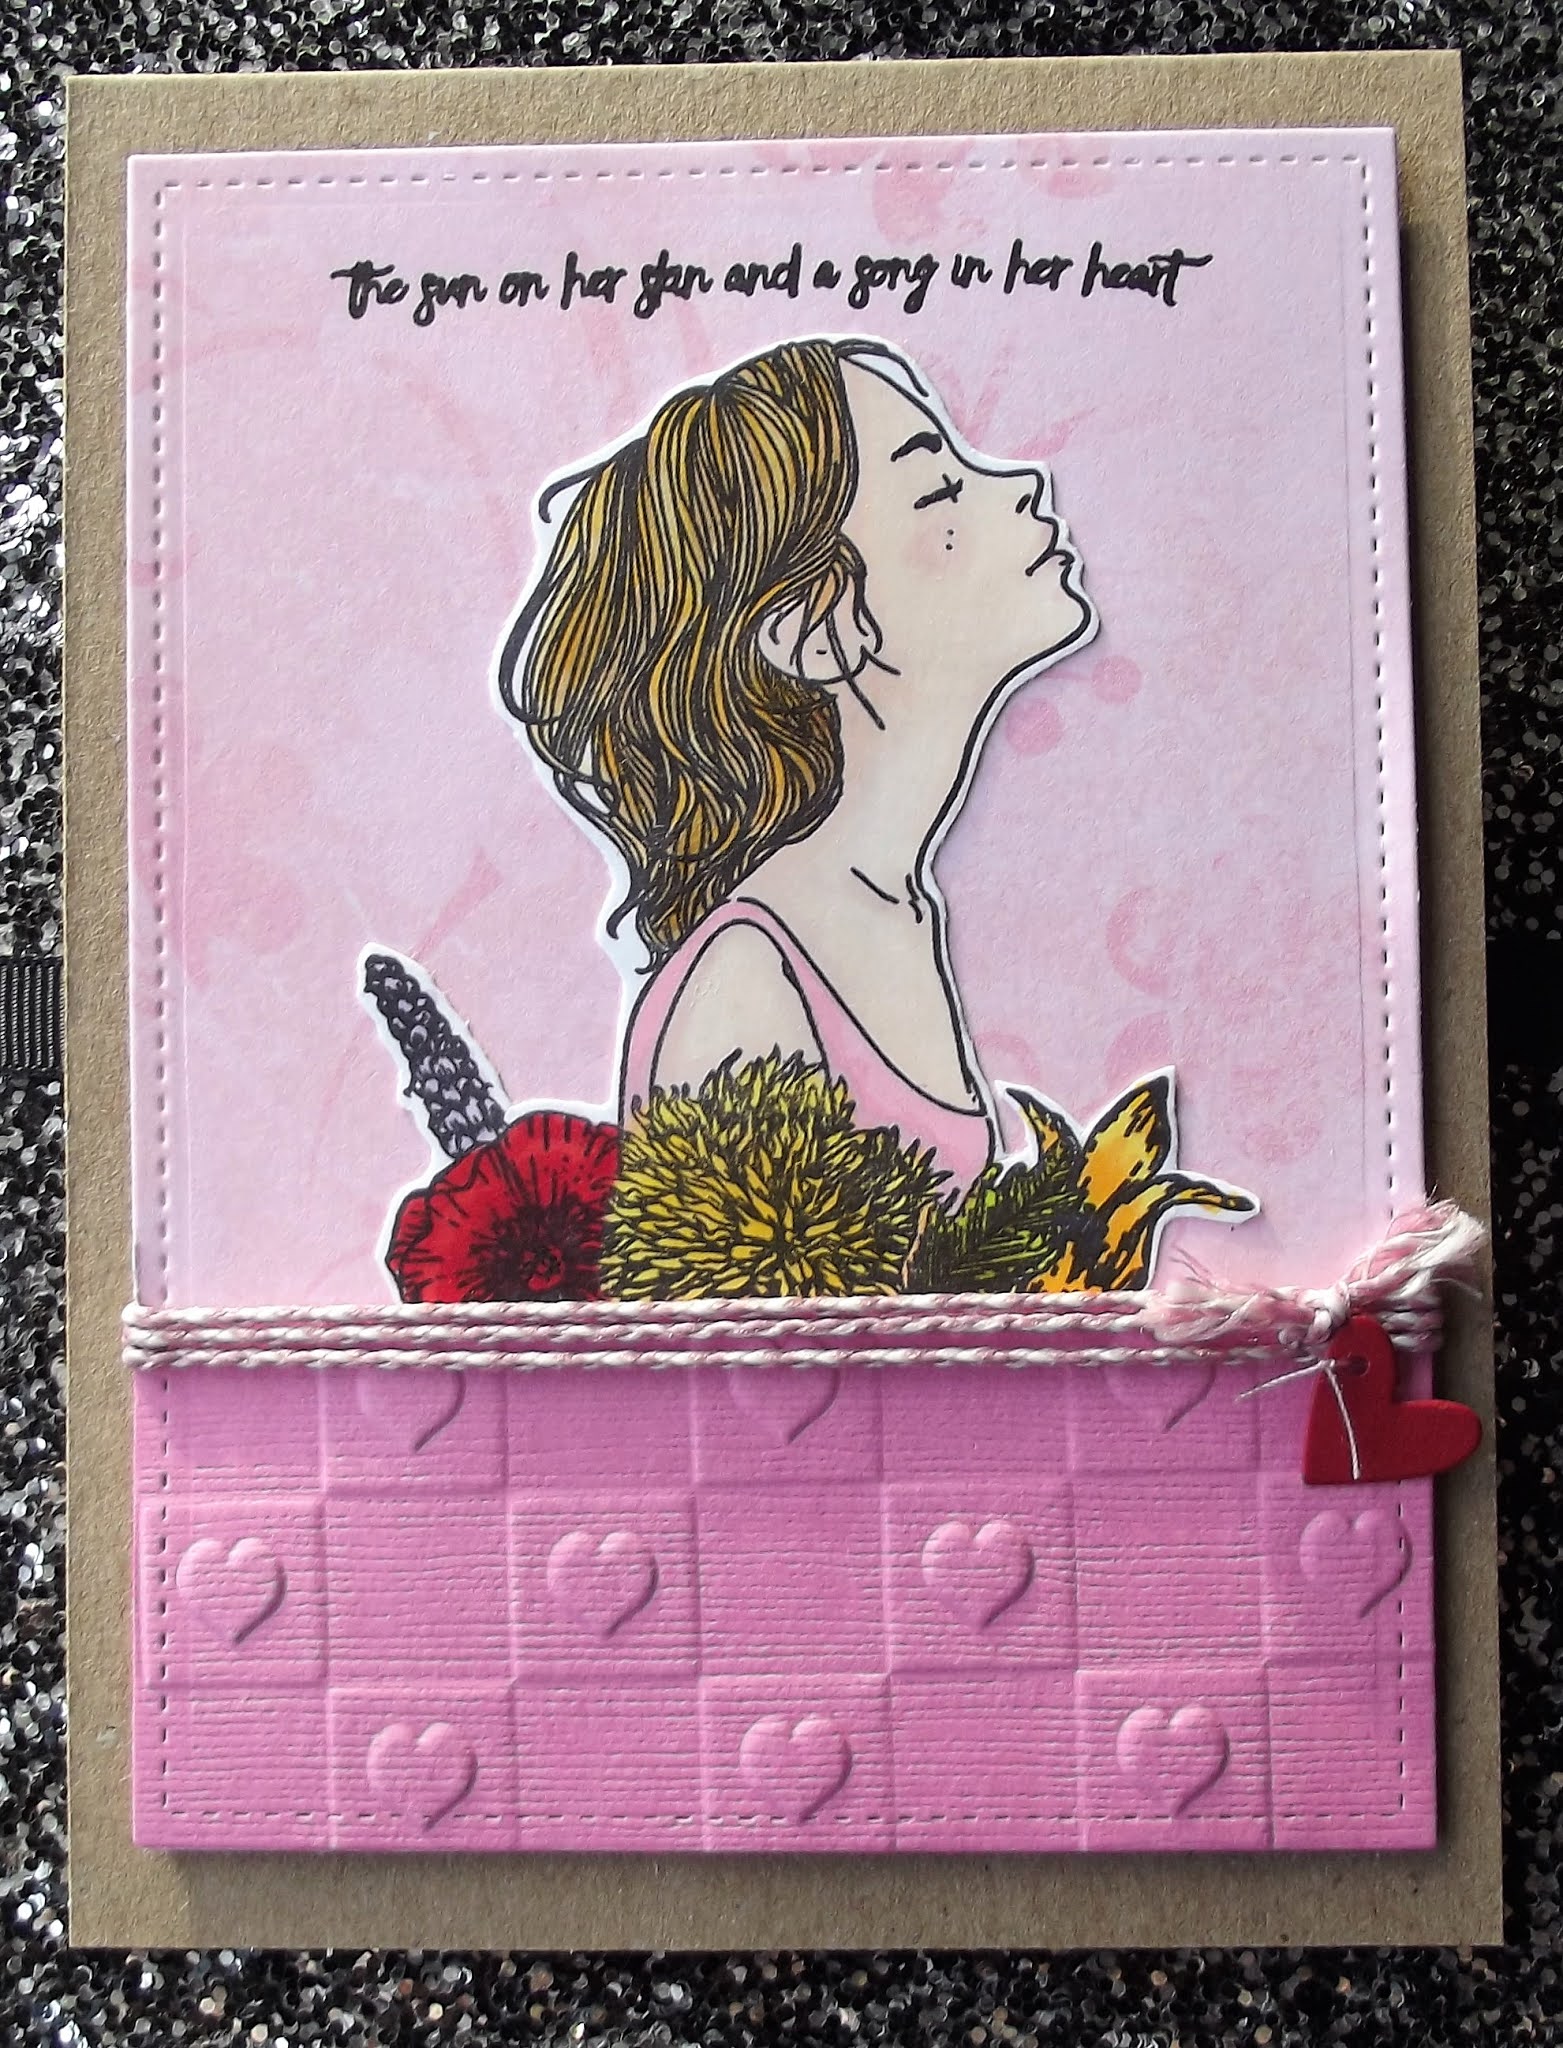
Meet Alice Girl from Picket Fence Studios and her heart embossing folder panel from Papermania called Checkmate. I also thought I'd share this masculine Valentine's Day card using the same folder to show how different colourways can create a totally different look!


The glasses and the sentiment are real oldies from Paper Smoochies.

Gail, GDT Joanne, and I really hope you'll come and join the fun before the end of the month.

Wednesday, 10 February 2021

Challenge #5 - Love and Red

 Welcome, welcome, welcome to the fifth challenge here at 

Let's Squash It! 

Let's Squash It! is The Embossing Folder Challenge.  We are gonna help you explore the world of the not so humble embossing folder and encourage you to dig 'em out, knock the dust off and find old, new and fun ways to make your projects pop. 


We have an awesome team to keep you entertained and awesome challenge themes to stretch your creativity and get you using all those long forgotten and neglected embossing folders. 
For those of you who are just tuning in you can check the previous posts for the story behind the genesis of the challenge and the technique posts for awesome tips and techniques to help you make the most of your supplies and folders.

Challenges start on the 10th of the month and run to the last day at 23.59 GMT.  We will be picking top picks and a winner, who will have a chance to be our guest designer for a future challenge.  There is a little prize on offer for a randomly selected winner and these will all be announced on the 5th of next month.   


So, Challenge #5
And this month's theme is
 

Use a LOVE THEMED Embossing Folder AND the colour Red/Pink

It's the month of love!  Use an embossing folder with hearts/cupids/words of love etc AND the colour red/pink.  Please make sure you include both parts of the challenge prominently on your card and also check da roolz to ensure your entry will be eligible for the random prize draw!

We are very pleased to have our Let's Squash It!! Empress joining us as our guest designer this month.  Please welcome Joanne

"Hello fellow Squashettes, I'm delighted to be joining Gail and Jo this month to spread a little love.  I'm Joanne, although you might know me as Angelnorth.  I've been crafting as long as I can remember.  If I messed up a project when I was little my mum always said "Can you make a feature of it?" so I tend towards the belief that there are no mistakes, just artistic opportunities!  Papercraft became my craft of choice around 2007 and here I still am, stamping and squashing!"

 Yeah!!  Welcome Joanne.  And here is Joanne's fabulous card,

 
Joanne's Card uses
Crafts Too Embossing folder - Love Hearts


And here's some inspiration from the team......
 
 
Gail's Card uses
Sizzix Border Embossing Folders - Hearts, Always & Forever


Jo's Card uses
Papermania Embossing Folder - Heart Pops


Please do check da roolz to make sure you will be in the running for da prizes.  

This months randomly selected winner will be able to choose a prize from the
 
Now it your turn!
Grab your embossing folders and show us some love.
We are looking forward to seeing your cards.


You are invited to the Inlinkz link party!

Click here to enter

Monday, 8 February 2021

Technique Time with Gail - February 2021


Hello Squashettes!  Gail here today to share a few embossing folder tips!
You might have come across these before, but I do like to mention the why, instead of just saying you should do it like this.  Of course, you are free to do it any way you like, but hopefully mentioning some effects and consequences will make it more relevant.

My first tip today is:

If possible, orientate your folder so the hinge of the folder goes through your squash machine first

When you emboss something it stretches the material.  Some materials will stretch more than others.  The more detail on your folder the more stretch of your paper.  This is why sometimes when you emboss a thin flat piece of card it warps.  Thicker card tends to warp less, but puts more strain on your folder and also your machine.

By putting the hinge through the machine first it allows the folder to relax and any extra pressure is unrestricted by the open ends.  If the hinge is the last thing to go through it can get quite stressed if things are not perfectly aligned, and if the material you are embossing stretches a lot it can end up being pressed against the folder hinge, which may break your folder, or even crack a plate on your machine.  The hinge is also the thickest part of the folder so if your 'sandwich' is too thick it's best to find out sooner rather than later.....


Tip two

Twofers!

Emboss two pieces of card at the same time!  You get an emboss and a deboss in one go! I used Cuttlebug Garden Tools folder and a piece of white and pink card.  I inked the emboss side (white card) with green ink and the deboss side (pink card) with pink ink and then put both pieces of card through the machine together.   This isn't useful for word/number folders LOL, unless you are having an Alice type day.


Tip three
 
Stretch your folders

If you have folder that has a perfectly repeating pattern then you can use it to make a larger panel by overlapping the pattern.  Be careful with your plate placement so you don't flatten the pattern you already have.  More usually you end up with a slightly less crisp overlap.  You can also extend non-repeating patterns and disguise the joins by using design elements such as fussy cut images, die cuts or ribbon.  I used a piece of ribbon to disguise my imperfect extension with the Do-crafts Candy Cane folder on this slightly taller piggy christmas card.


You might also have a design you can extend in another way.  This Father Christmas folder from CraftStash is 10 x 15cm, but by embossing it on the left hand side of a 10 x 20cm piece of card and adding some score lines on the RHS I was able to extend this image to make a DL card.  I smeared the embossed lines with black archival ink and then coloured it with Promarkers and distress inks.  


Tip four

Check Jo's Technique Time post from last month for masses of fab tips on misting your cardstock.


I hope you have enjoyed my little tips today.  The next challenge starts on the 10th, so see you then.  Thanks for dropping by.  Hugz