

Embossing is great, right? Here at Let's Squash It! we love to challenge ourselves and to see if we can take embossing a little further to add extra 'Wow' factor to your cards. In this post, I'm going to be looking at how to add a little shine to your embossing to lift it to a whole new level!
My first thought for adding some shine to an embossed panel was to use gilding polish. A couple of years ago I bought some Silver Dream Gilding Polish from Cosmic Shimmer. Unfortunately, the polish has now gone a little gloopy, but I still managed to get some nice effects by using a cloth rather than the sponge that comes in the lid of the container. Using a very slightly damp cloth seemed to help.

My first application was a little heavy.


Gilding paste/polish comes in a variety of colours or finishes and really adds lustre to your embossing. A lighter touch really seems to give better results.
Mmmmm, what else could I use to add some shine to my embossing? I certainly didn't want to 'add to cart', so decided to look through my stash to see what I could utilise.
I was delighted to find that my gold Versa Color cube still had a little ink in it. I doubt if I could stamp with this ink, but the sponge still held enough ink to swipe it across an embossed panel and I love the effect.

This was quick, easy and far less messy than the polish. I used the de-bossed side of the panel and was amazed at how different the pattern appeared in reverse.
 |
| (X - Cut Folk Florals) |
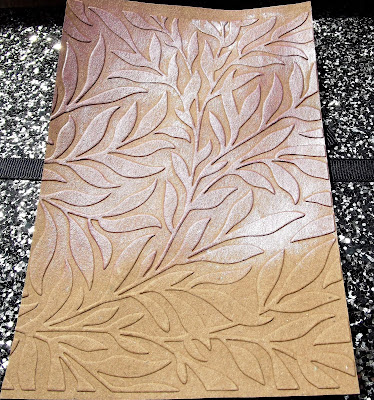 |
| (Unnamed Folder) |


I've got a lovely powder from Altenew which is clear with just a hint of sparkle. I carefully swiped the cardfront with my Versamark pad and then sprinkled on the powder for a beautiful, sparkly finish.
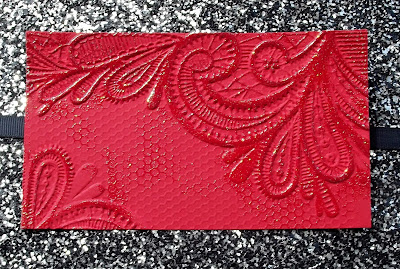 |
| (Crafter's Companion - Ornate Lace) |
 |
| (Darice - Bold Daisy) |
 |
| (Kaisercraft - Stained Glass) |
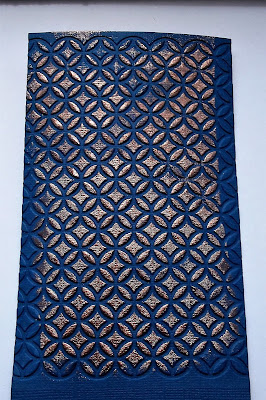 |
| (Kaisercraft - Stained Glass reverse.) |
Hopefully, you've enjoyed my little tutorial and you're now all ready for our next challenge which is only two days away! Take care, see you soon and keep crafting!


