

I was chatting with Gail a couple of weeks ago and sharing my woes after embossing a beautiful stamped sentiment which I had heat embossed and then run through an embossing folder. In my head it should have looked wonderful but it was an epic fail.
This set me thinking about whether you can emboss sentiments - if you follow these simple steps then I think you'll agree that the answer is 'Yes'!
Step #1
Select a suitable stamp! I think this is where I went wrong before as the sentiment I'd chosen was a bit too dainty. This time I went with a nice, simple, bold sentiment without too many words.
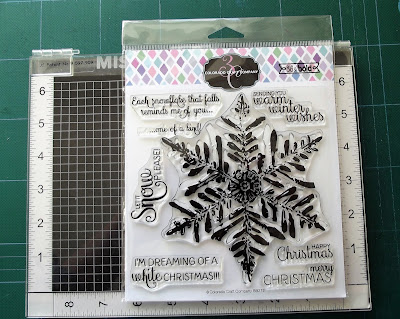
Step #3
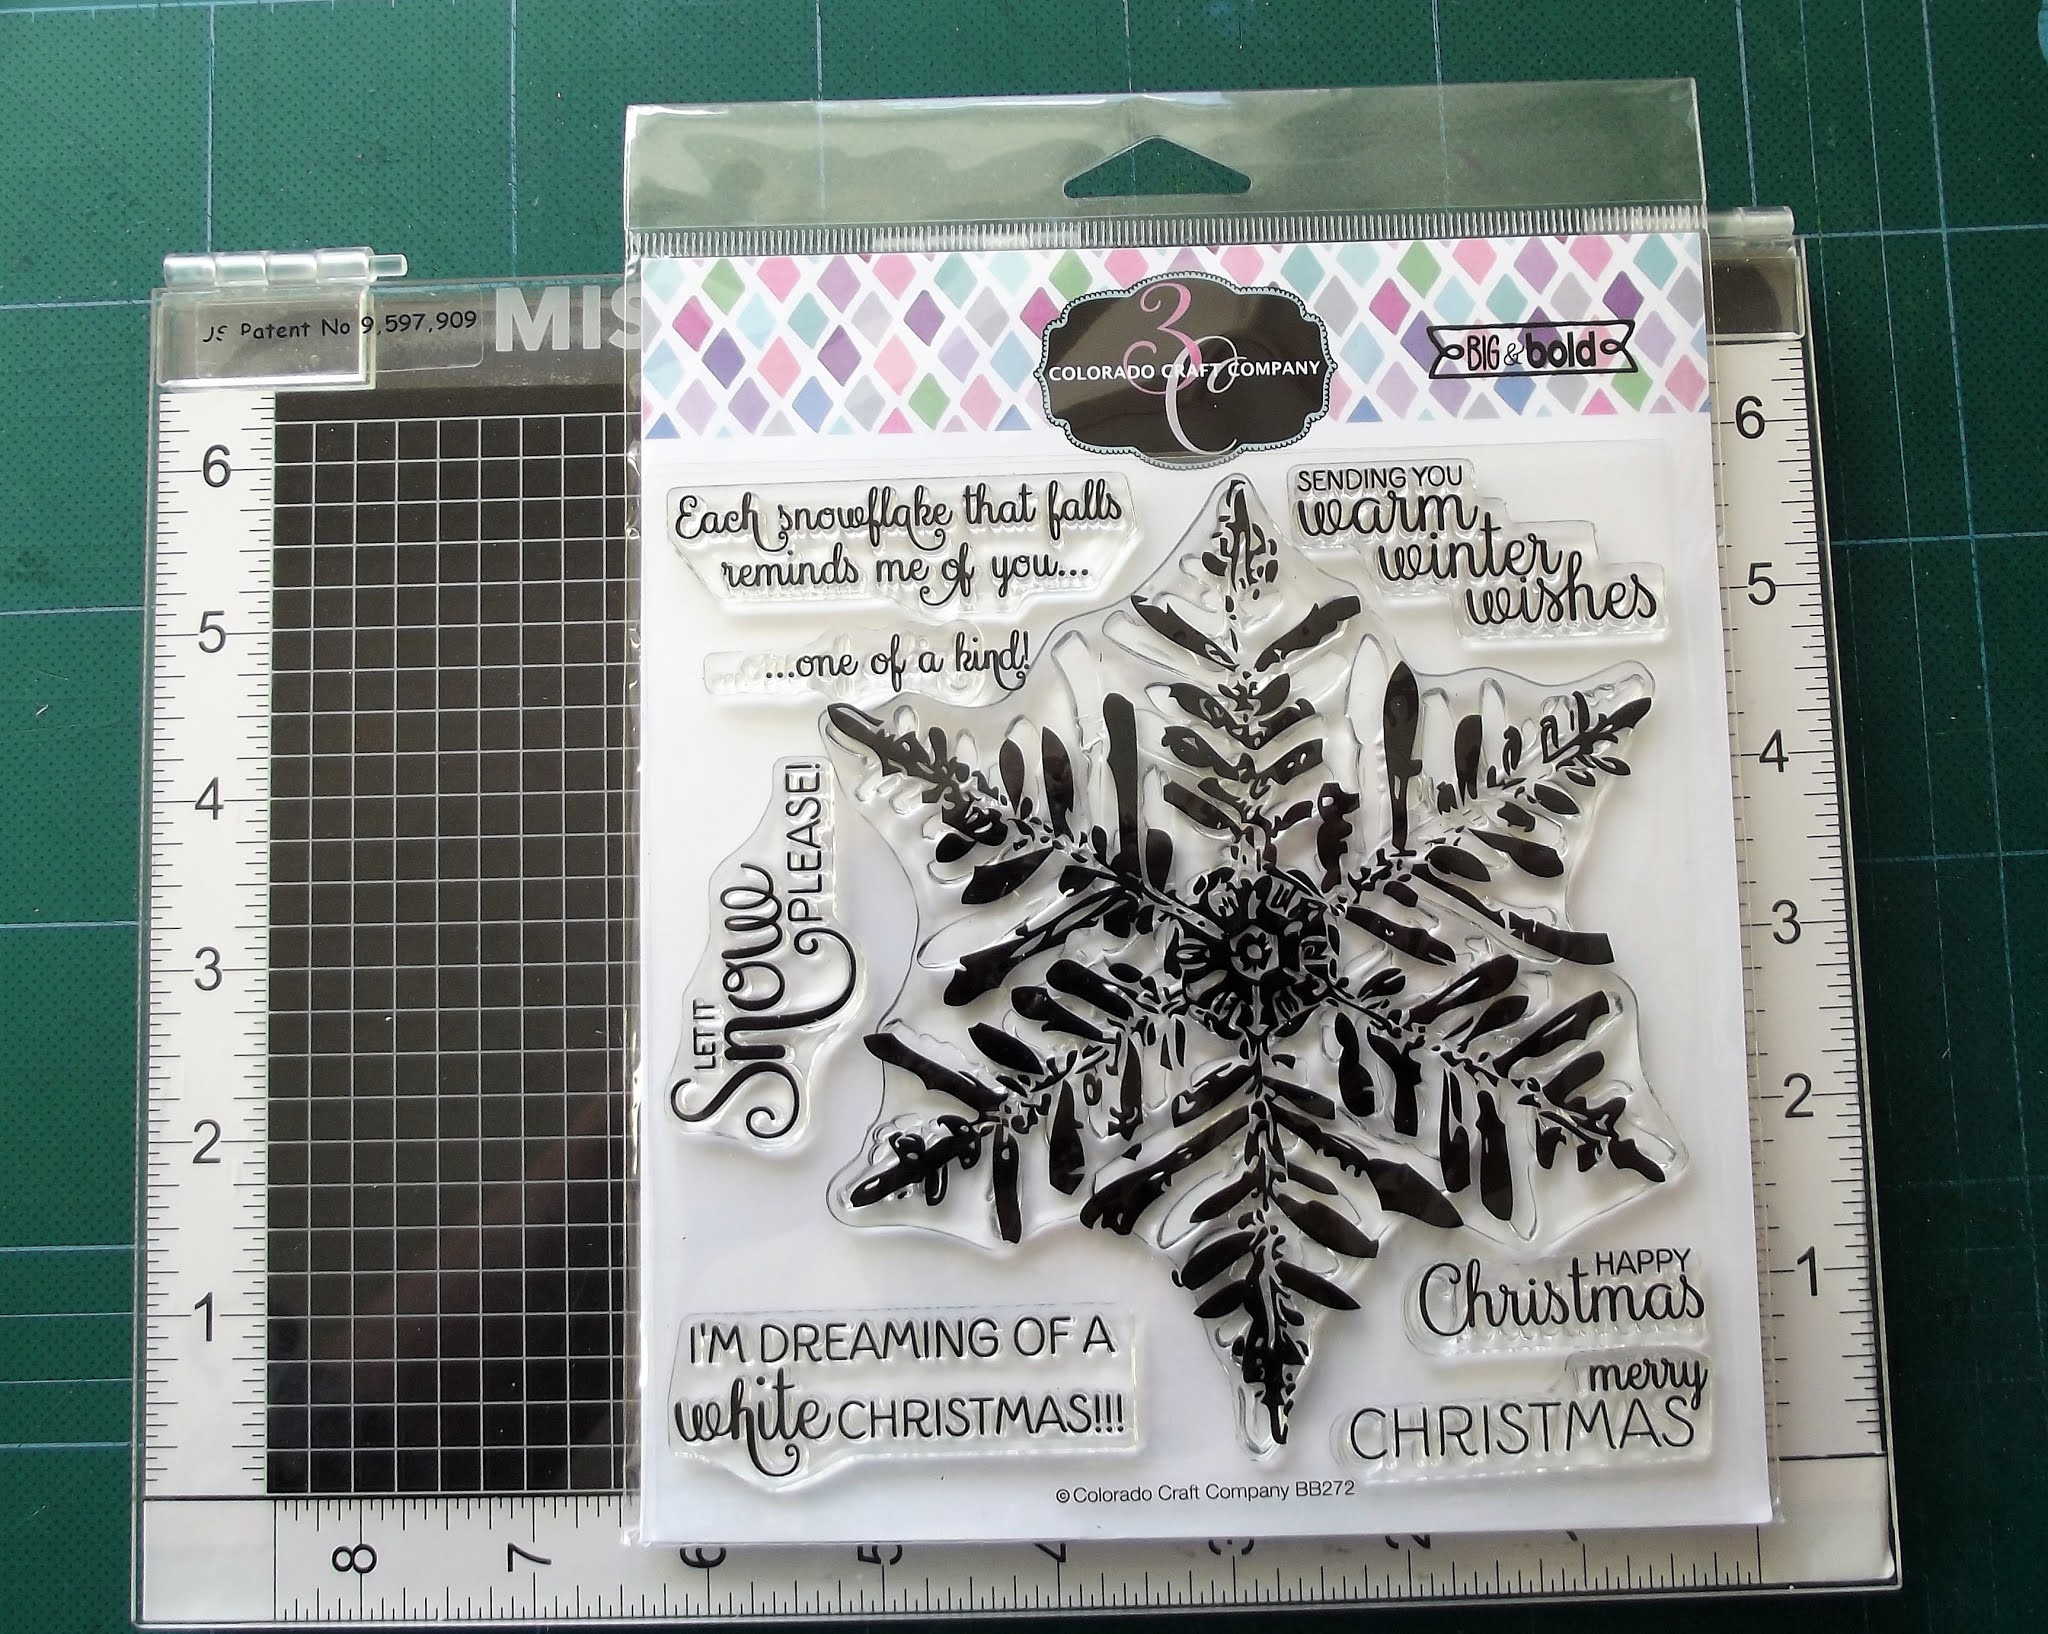
This set from Colorado Craft Company has some lovely sentiments that are nice and 'heavy'.
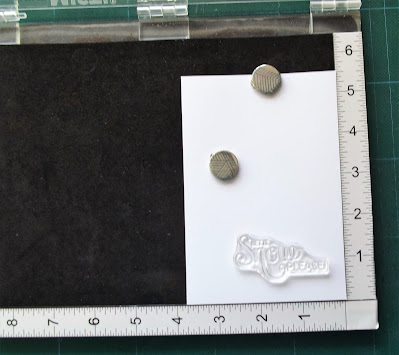
Step #2
Position the stamp and card. Seriously, what did we do before the arrival of the MISTI!

And stamp! I picked black Versafine ink. You need plenty of contrast between your ink and your card.

And emboss!
I picked a folder where the embossed images wouldn't be too crowded or break up the wording too much.


There'll be a brand new challenge along on 10th November, so please drop back and join in the fun. As always, your comments and queries are very much welcomed and appreciated as Gail and I would love this to be a forum for sharing tips, hints, and inspiration. We're in no way experts and are always interested in your comments and advice as we all travel along together on our embossing folder journey!
Happy embossing!
Great tutorial - thanks.
ReplyDeleteThanks so much, Jo x
DeleteGreat tip and I like your tutorial very much.
ReplyDeleteHave a great Sunday.
Thanks, tina, hope you have a happy Sunday too, Jo x
DeleteThis looks great, Jo.
ReplyDeleteBTW, I hadn't noticed the bin until you pointed it out lol.
Maybe it does happen to Jennifer, but I bet she spends a lot more time on planning and editing, since she does crafting as a profession.
Marianne x
Thanks, Marianne, Jo x
DeleteThanks for the tip Jo , definitely something I will try!
ReplyDeleteIt's good to try different looks, Jo x
DeleteLooks lovely!
ReplyDeleteThanks, Julie, Jo x
DeleteGreat!! I think I can do this!
ReplyDeleteNot something I'd tried before, but I'm pleased with the result, Jo x
DeleteSo cool. Love how readable the sentiment is after being embossed and love quick and easy with such a stunning result. Hugz
ReplyDeleteThanks for the encouragement to try it! Jo x
DeleteThis looks great! I tend to forget about the sentiment until the end and then try to stamp it on the embossed panel - it rarely works out!
ReplyDeleteJust need to think ahead! Jo x
DeleteWow! I like this, my sentiment is usually an afterthought, looks like it wont be anymore.
ReplyDeleteThank you for sharing.
Like I said to KT, you just need to plan ahead and decide whether you want your sentiment to be part of the design or not! Jo x
DeleteI tend to add the sentiment at the end and raise it up on mount tape. This is a great idea and I'm keen to try it. I tend to use digital sentiments but as far as I can tell it should work with those as well. I have that same embossing folder. BTW - I wouldn't have noticed that bin unless you had pointed it out - too busy looking at the Cuttlebug.
ReplyDeleteI think this would work great with digital sentiments too, Suze! Jo x
DeleteAre you teasing us? I'm wondering if this will be the challenge for next time!! You've aced it, Jo!
ReplyDelete=]
One more day to wait, Michele! Jo x
DeleteI have never tried this, thanks for the tips!
ReplyDeleteHappy to help! That's what this blog is all about, Jo x
Deletewhat a great technique Jo. Can't wait for the next challenge.
ReplyDeleteComing soooooon! Jo x
DeleteBeautiful result with your embossing after stamping, Jo - must remember that tip!!
ReplyDeleteThanks, Linda, Jo x
Delete